

How To Apply GlamTape
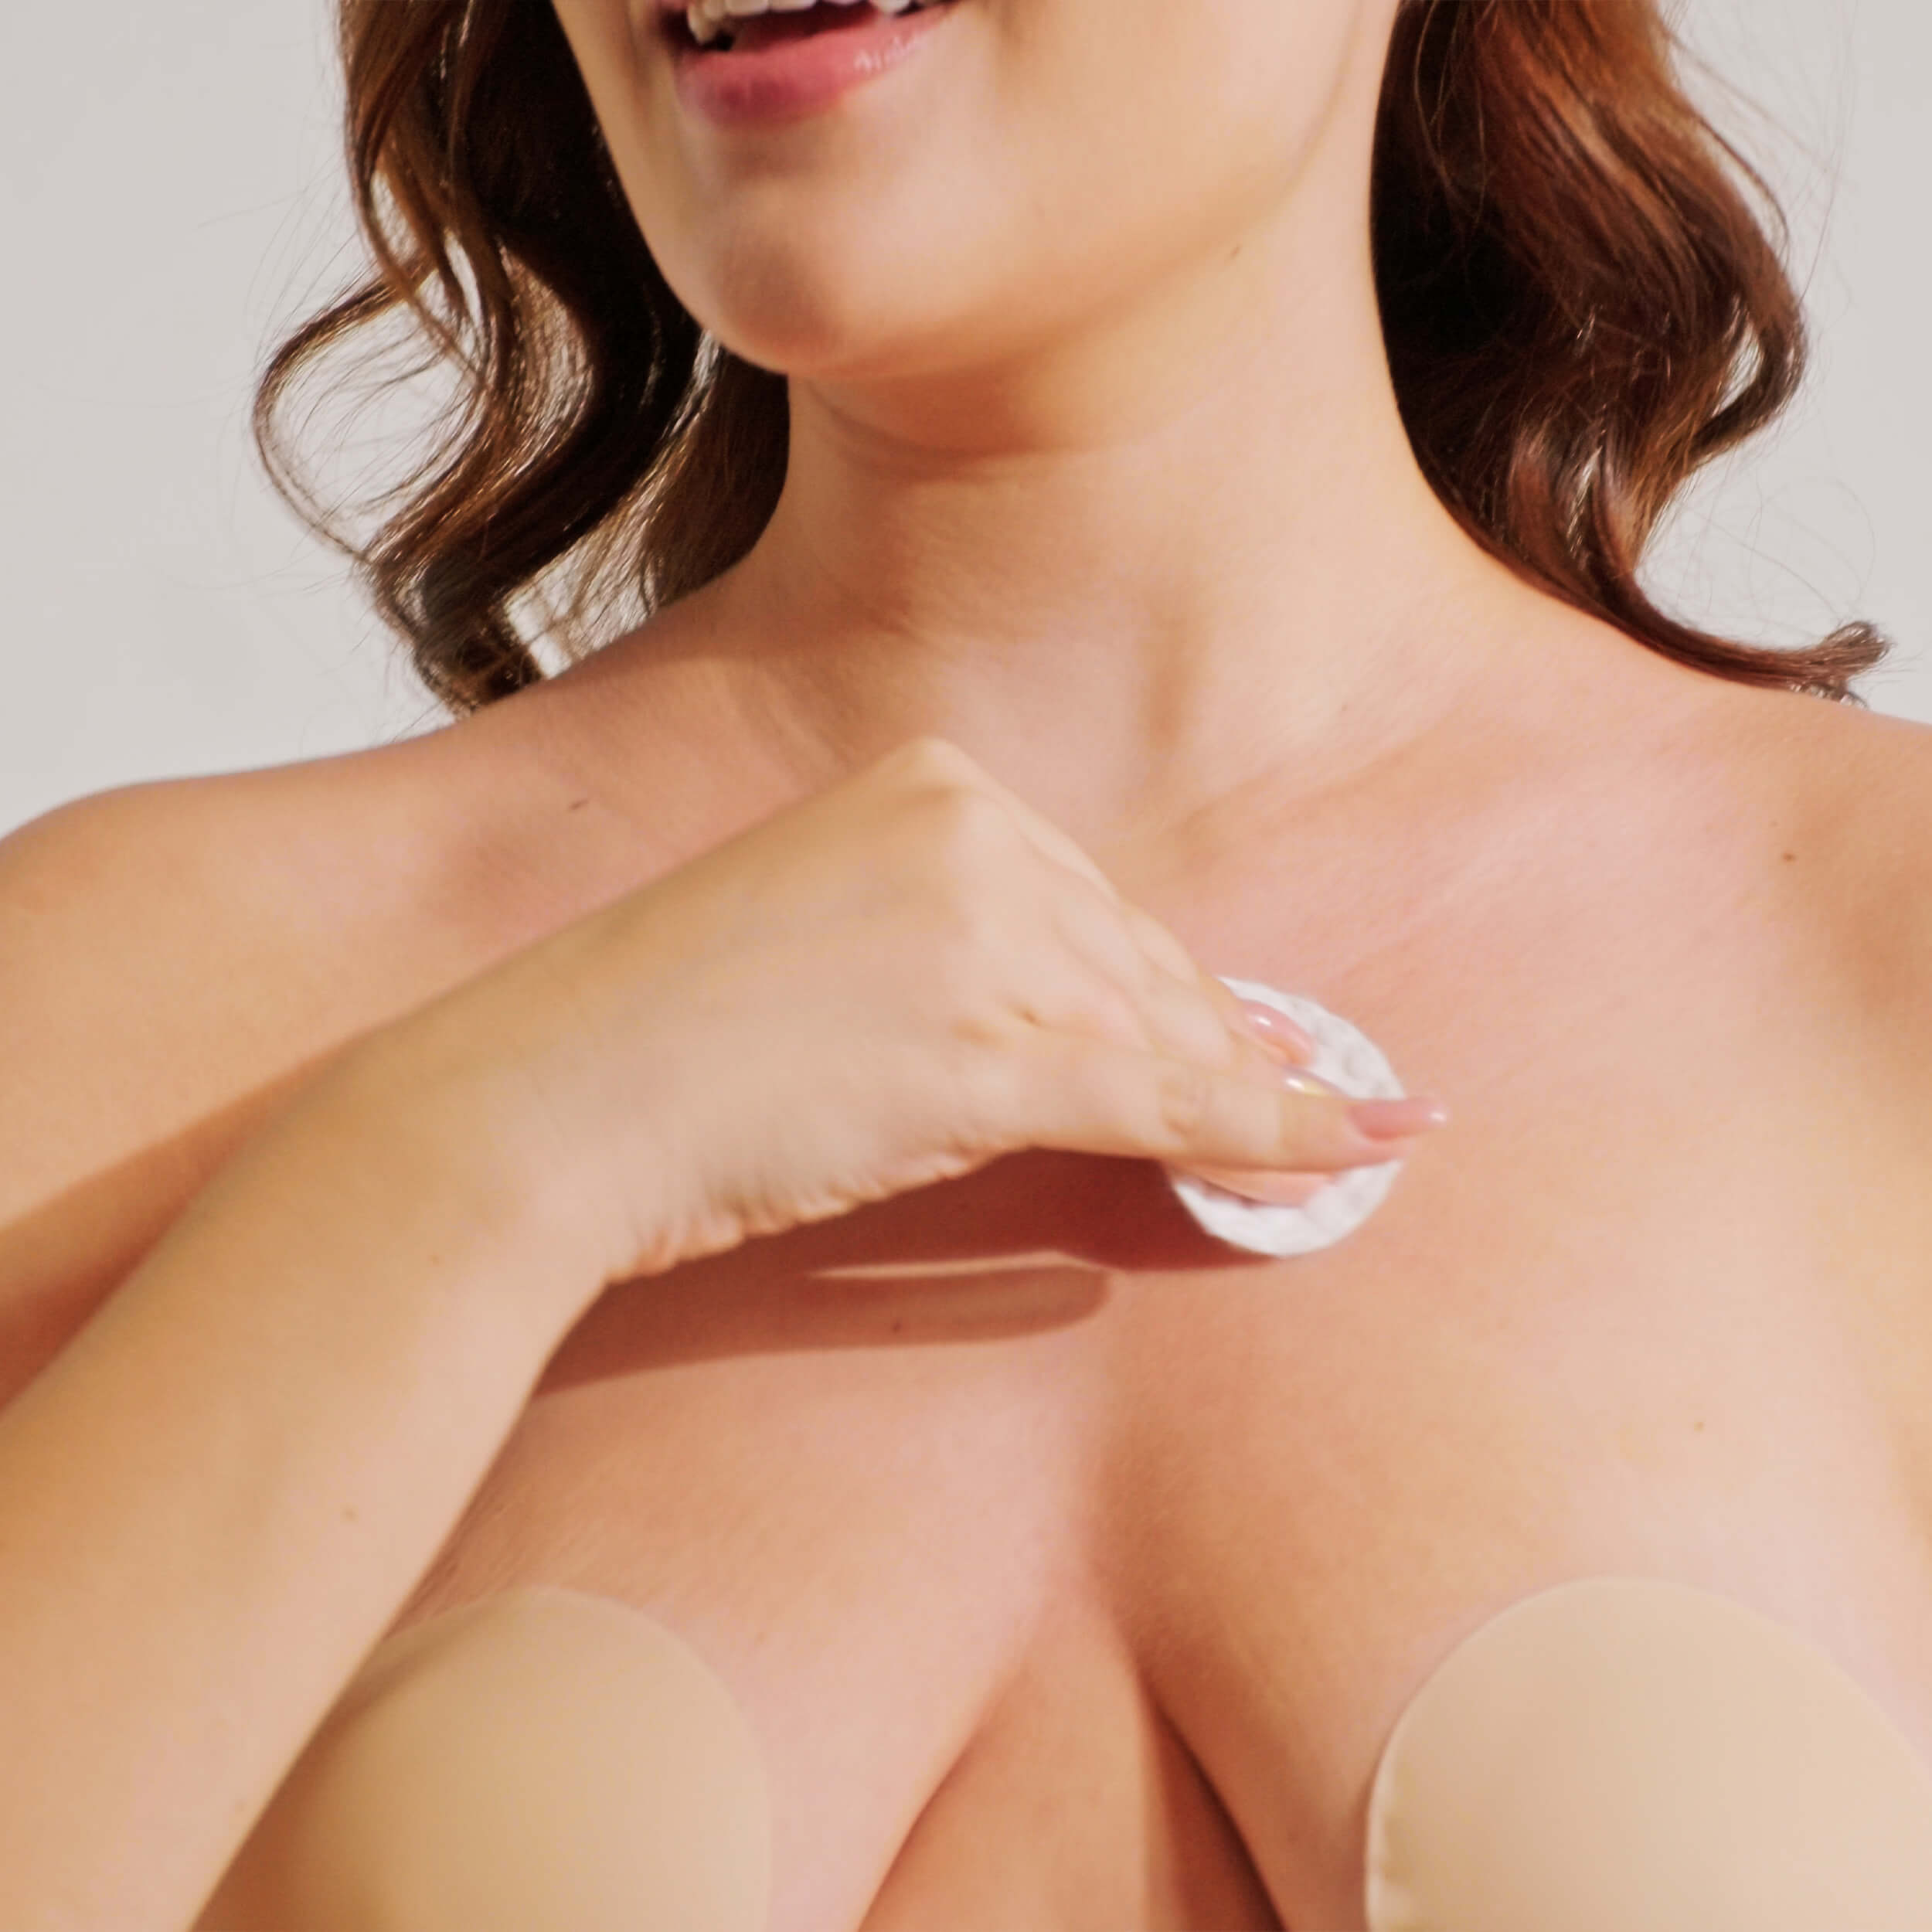
Step 1
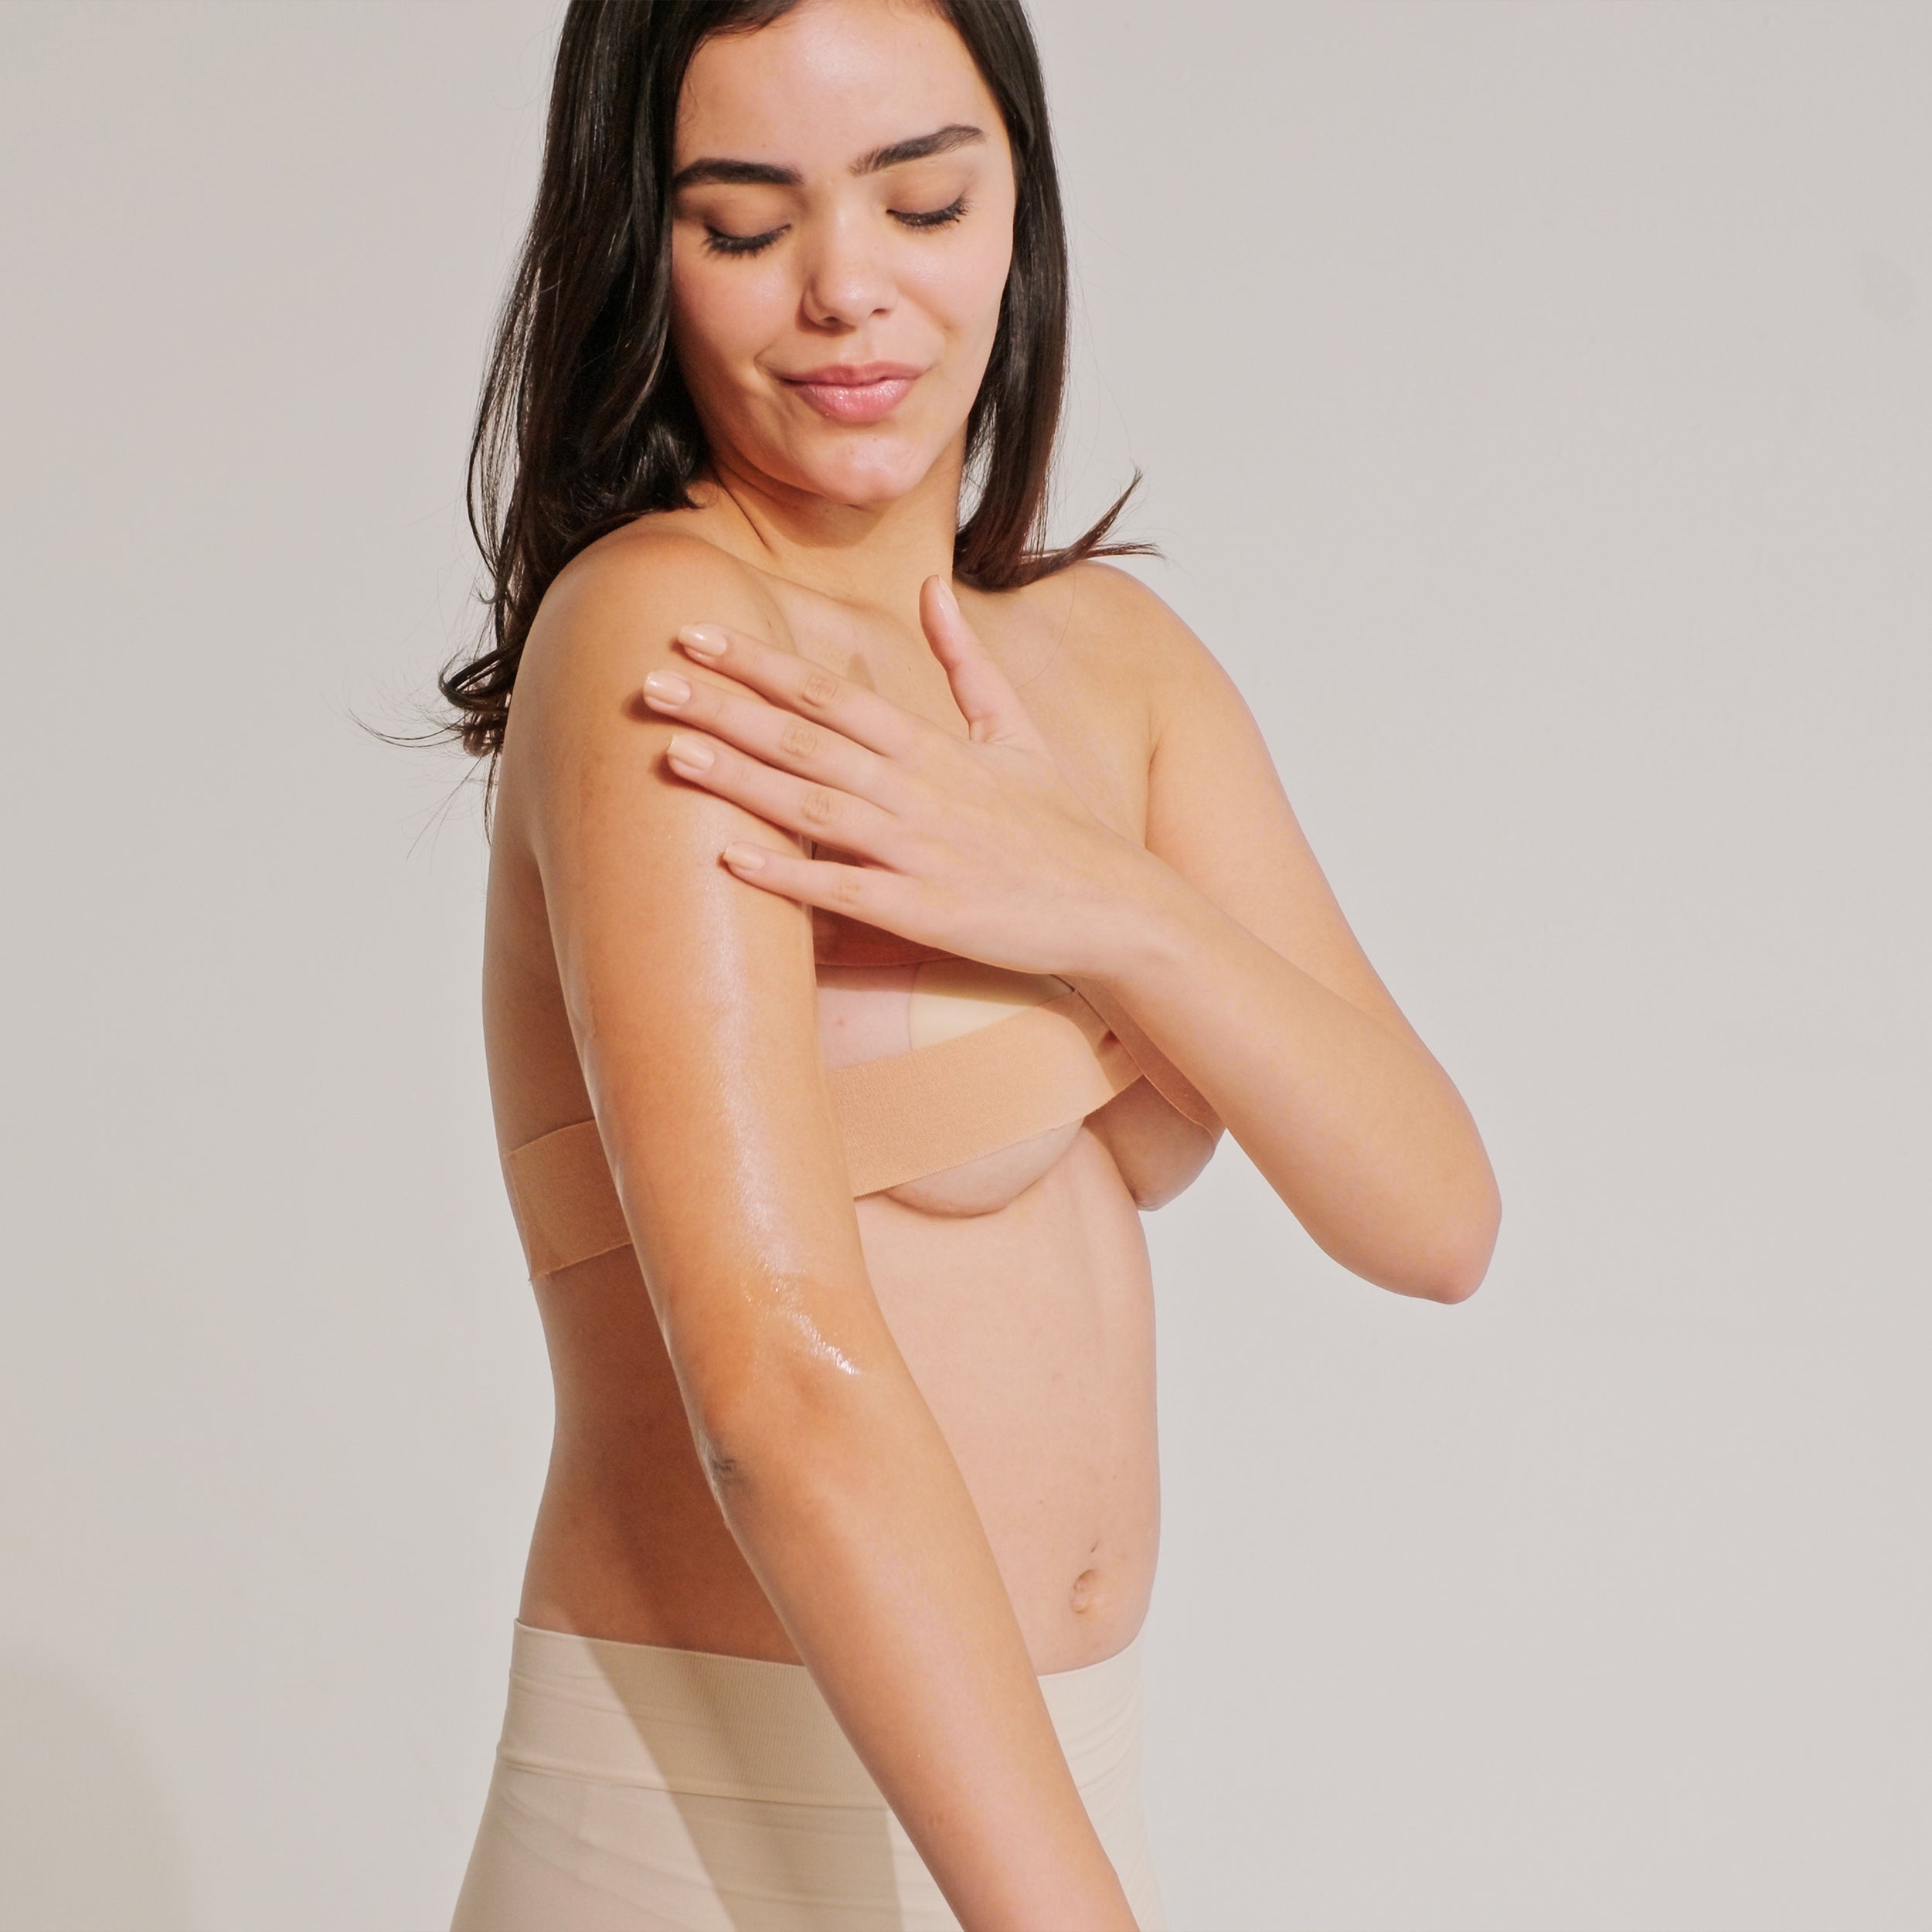
Cleanse your skin and pat it dry to remove any oils/lotions. Bonus, protect your nipples with NipGrips.
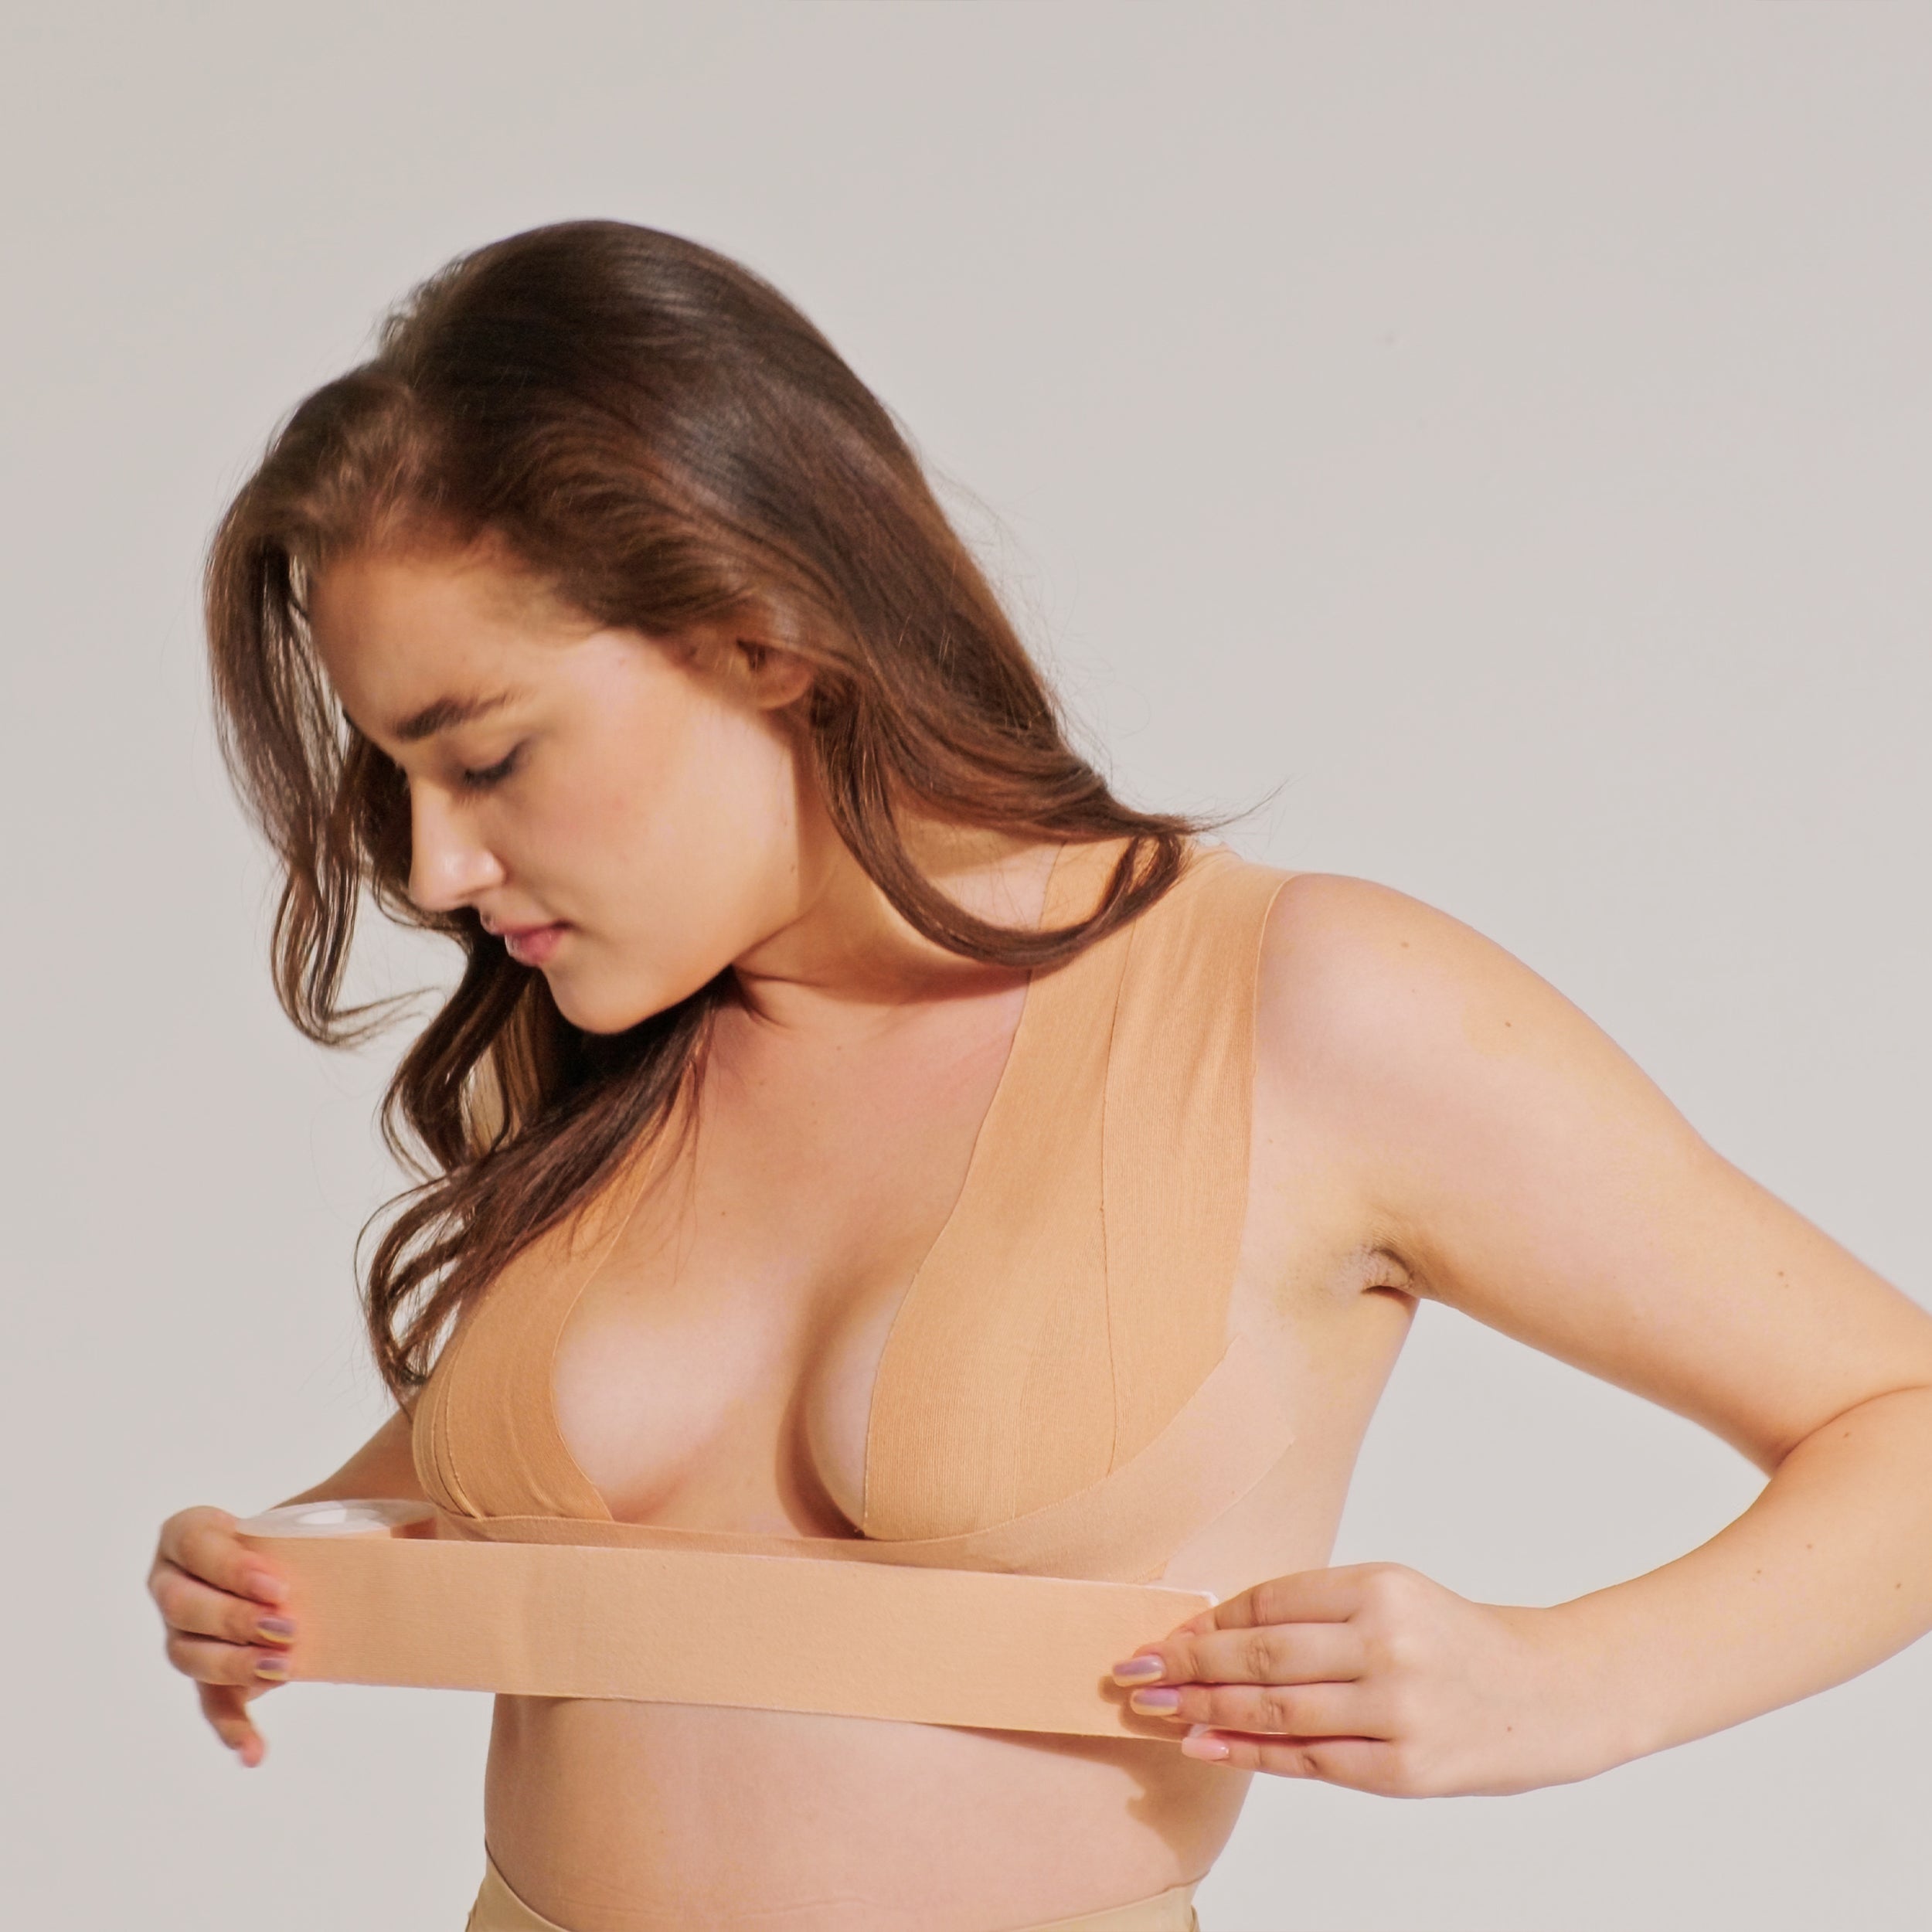
Step 2
Unroll the tape and roughly measure how much boob tape you’ll need, keep in mind that the tape stretches. Cut the tape to the desired size.
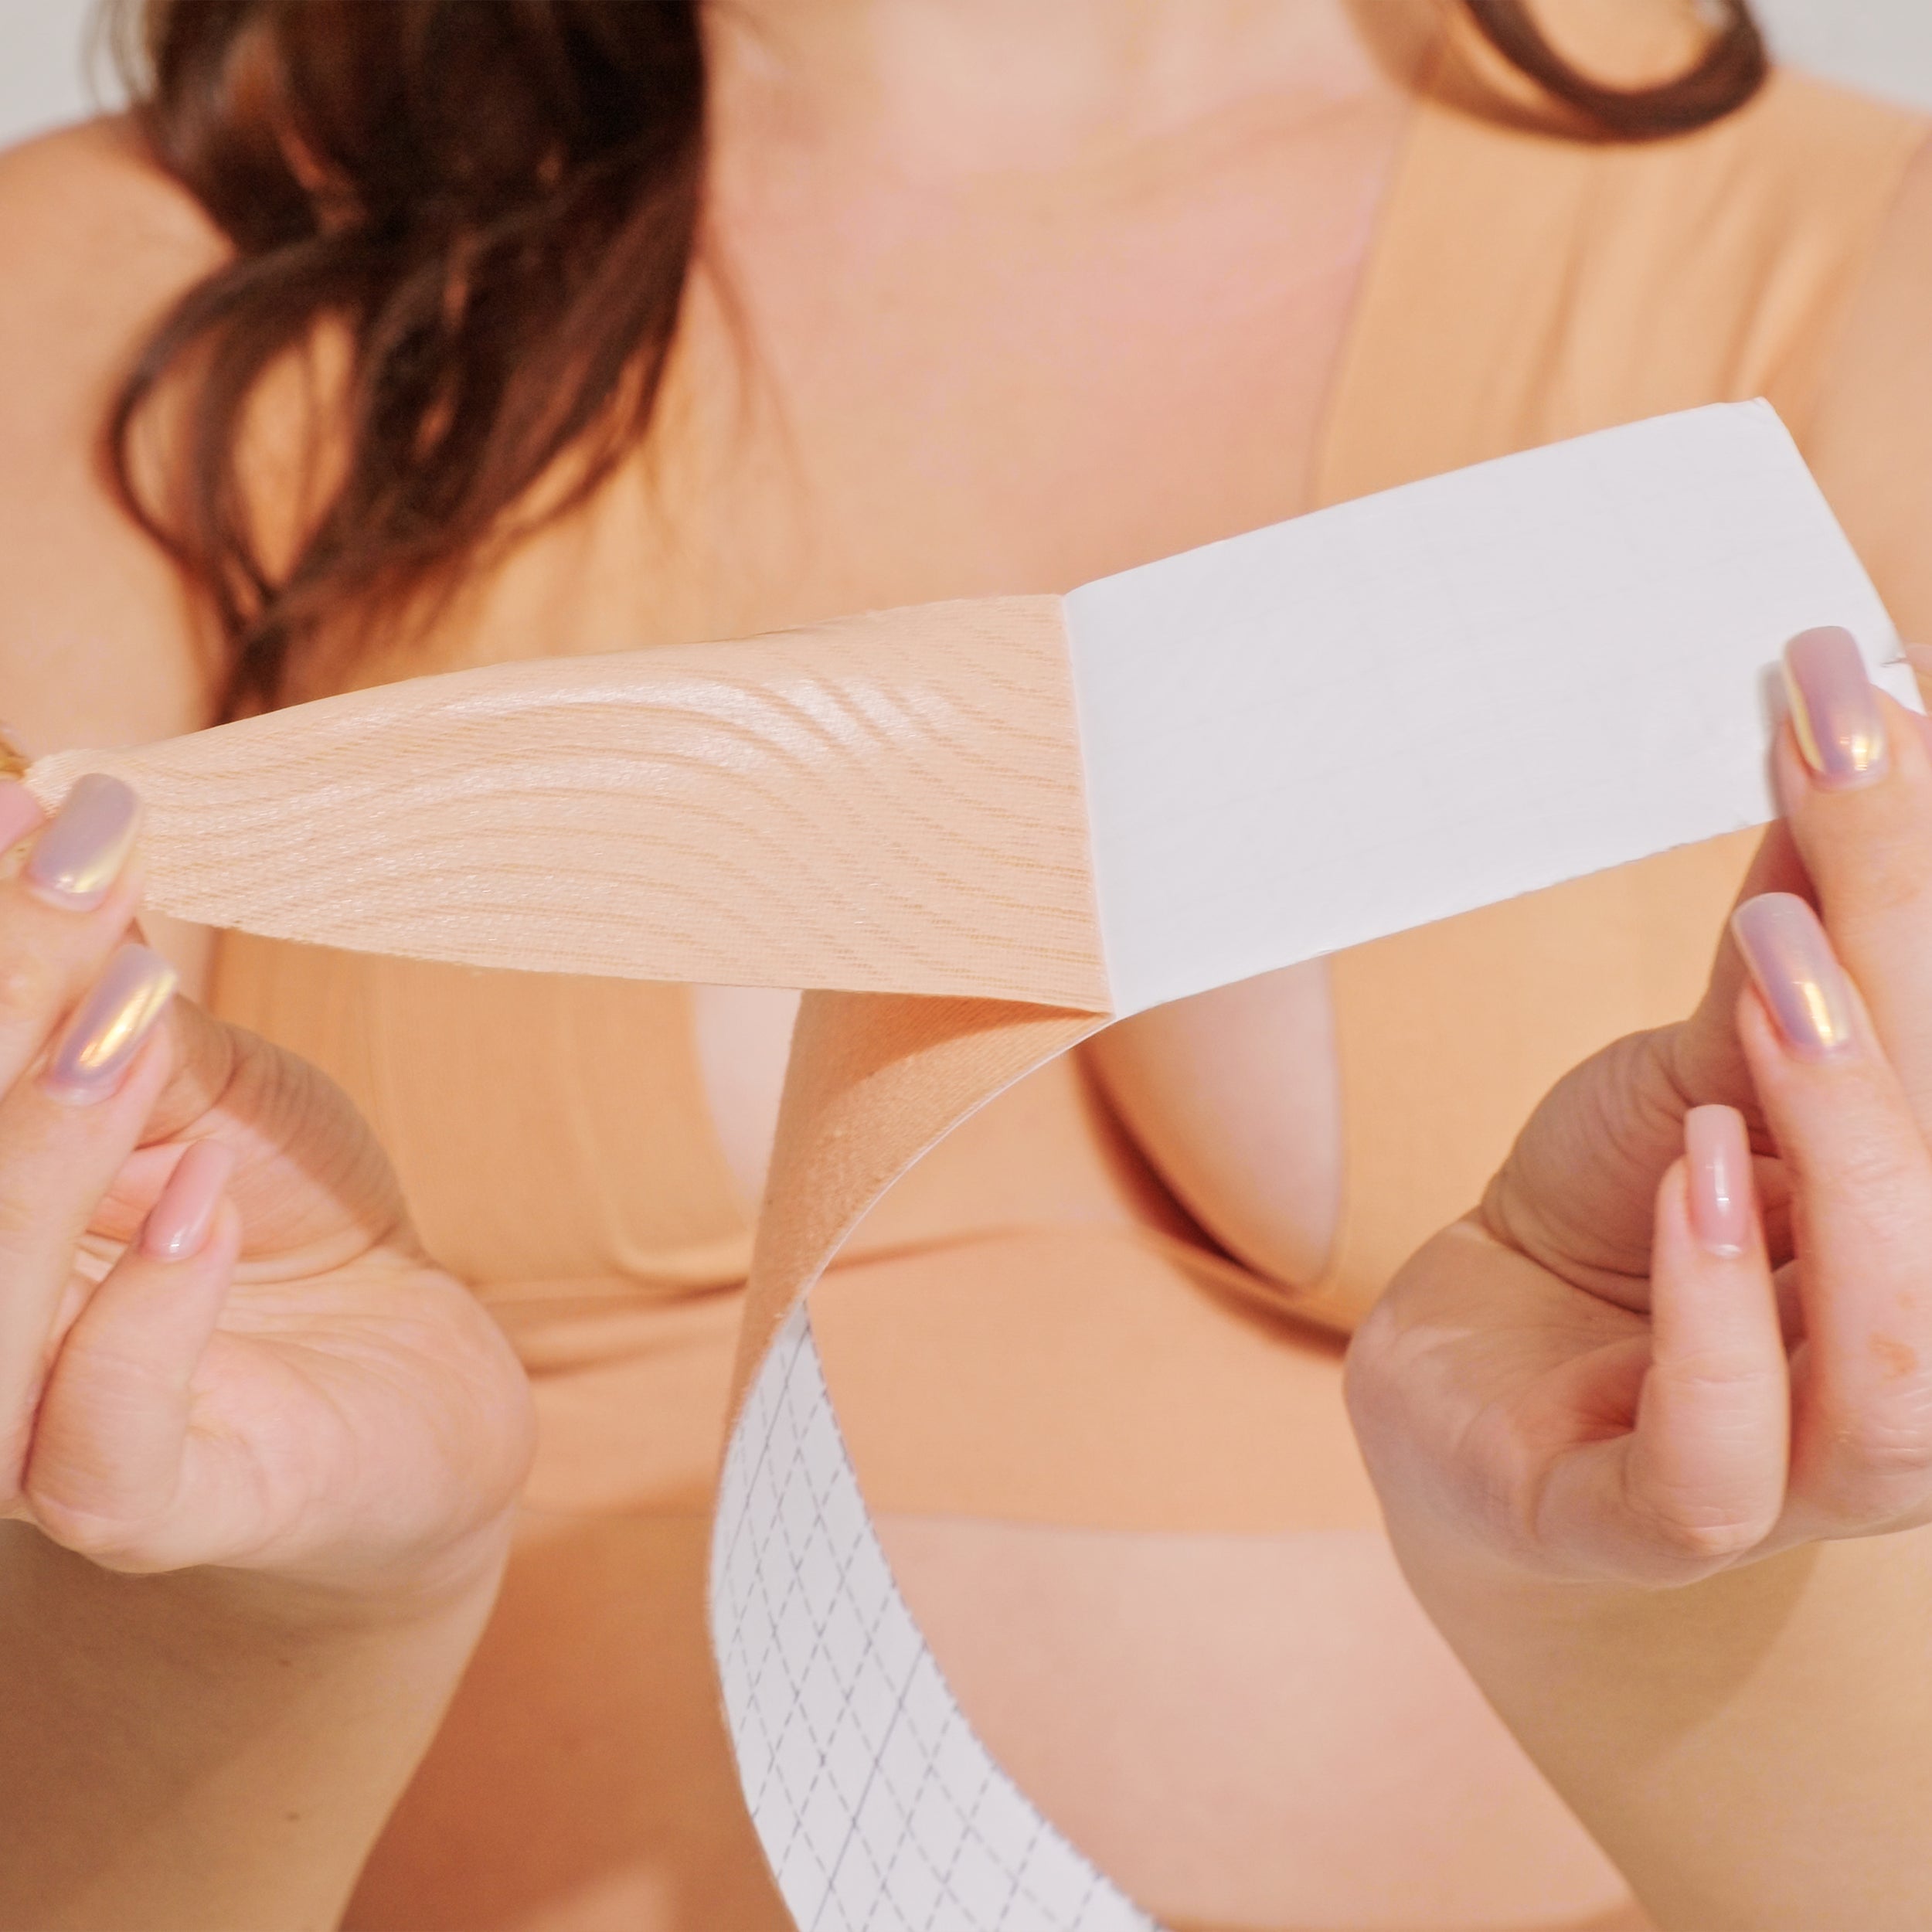
Step 3
Peel off the backing of the tape to reveal the adhesive side. Hold your breast in the desired position and apply the tape, pressing down firmly.
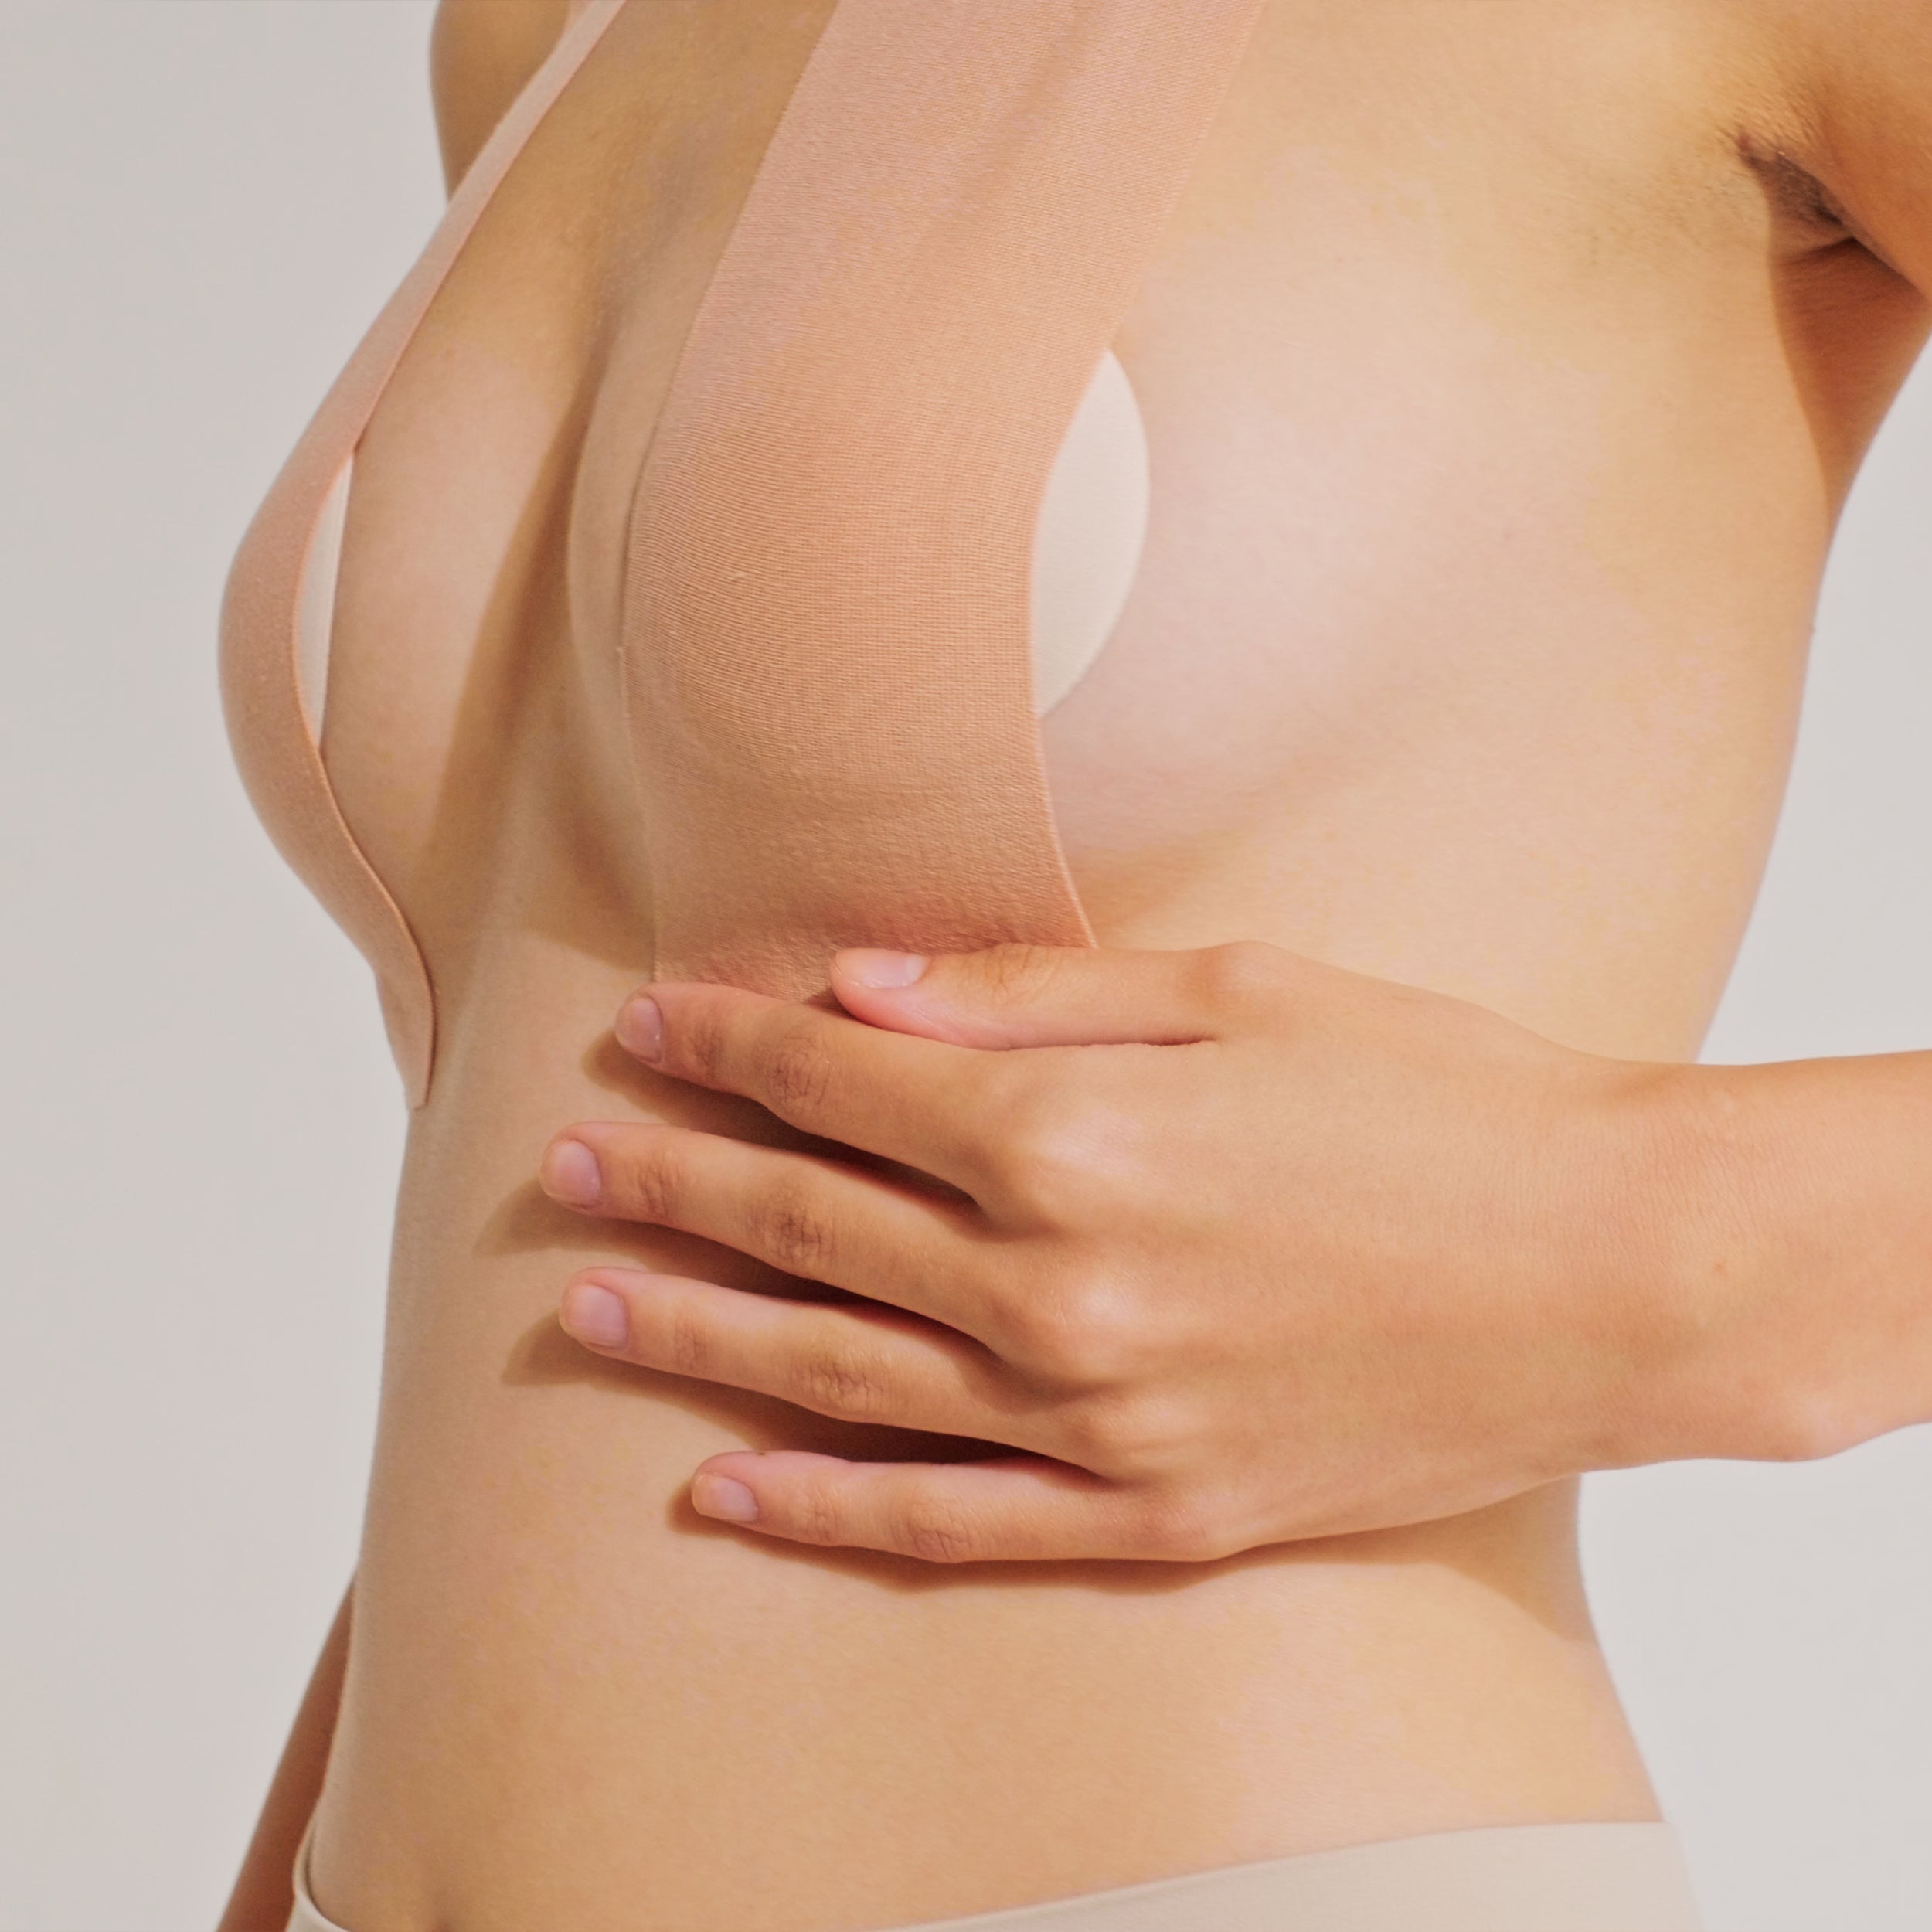
Step 4
Smoothen out any wrinkles and try not to move the tape after it’s been applied.
Step 5
Repeat the process for the other breast, ensuring symmetry and achieving your desired look.
How To Remove GlamTape
Step 1
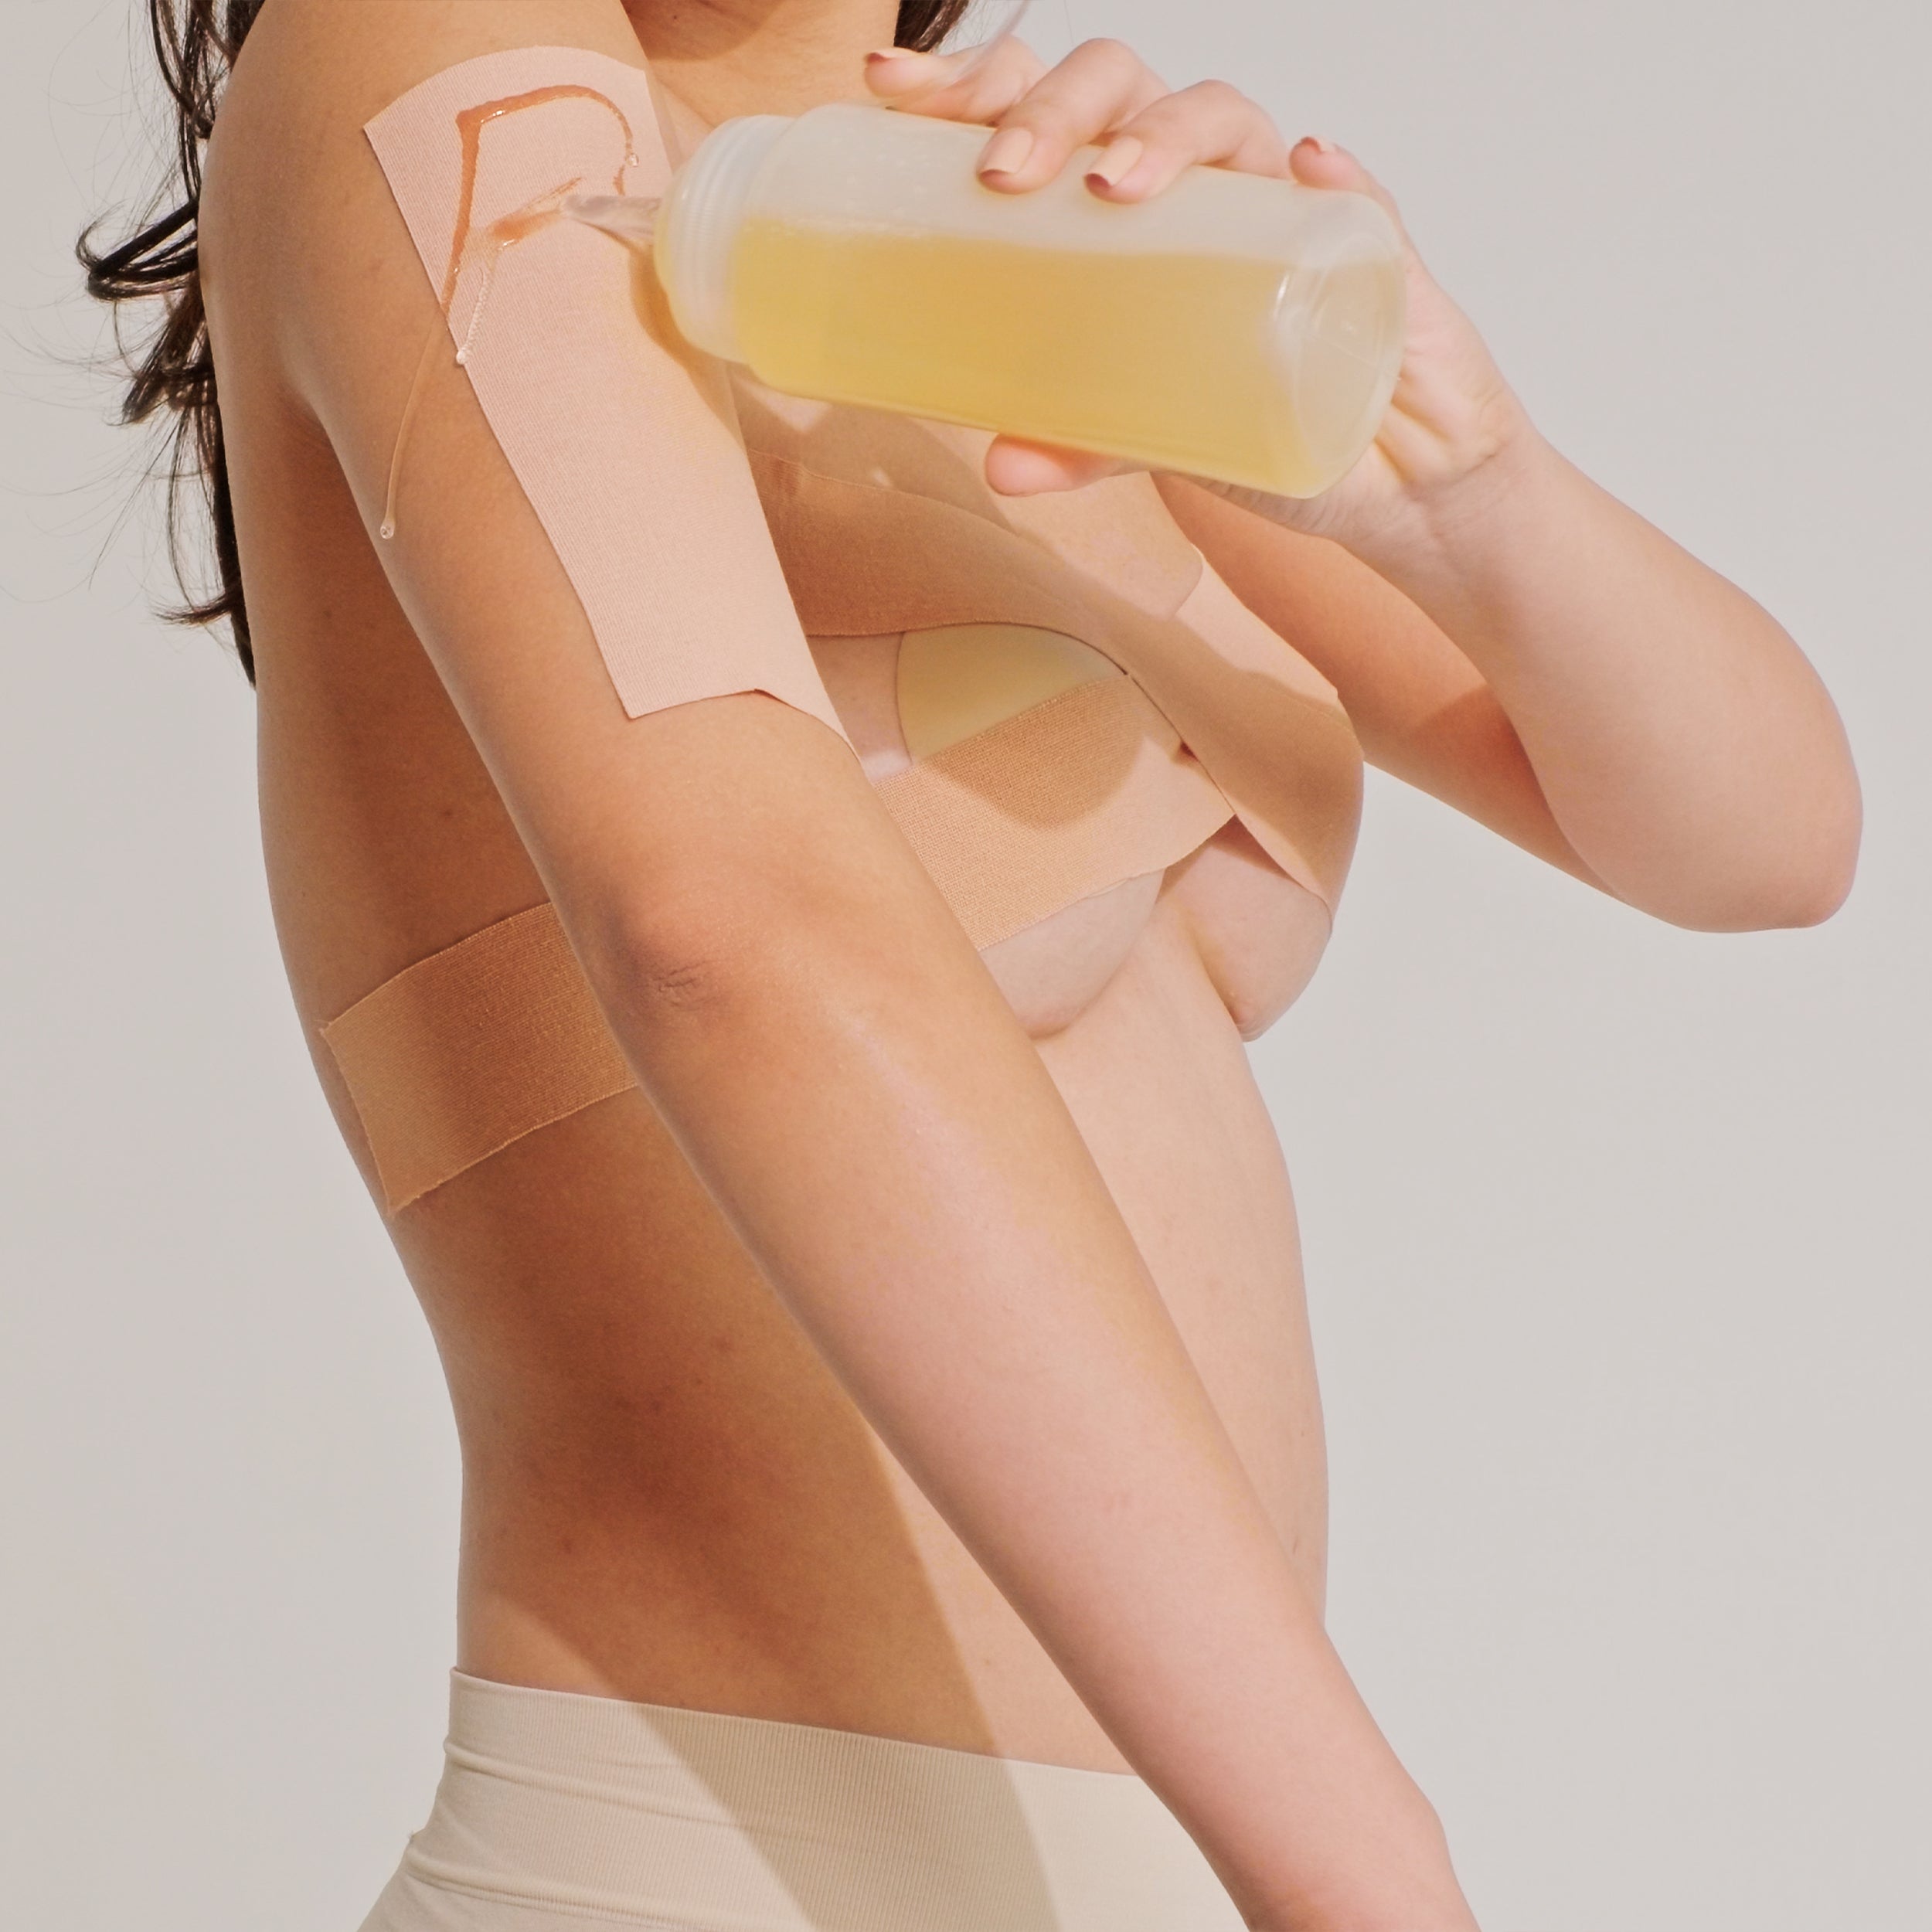
Use lotion, baby oil, or coconut oil, to saturate the area where the tape is.
Step 2
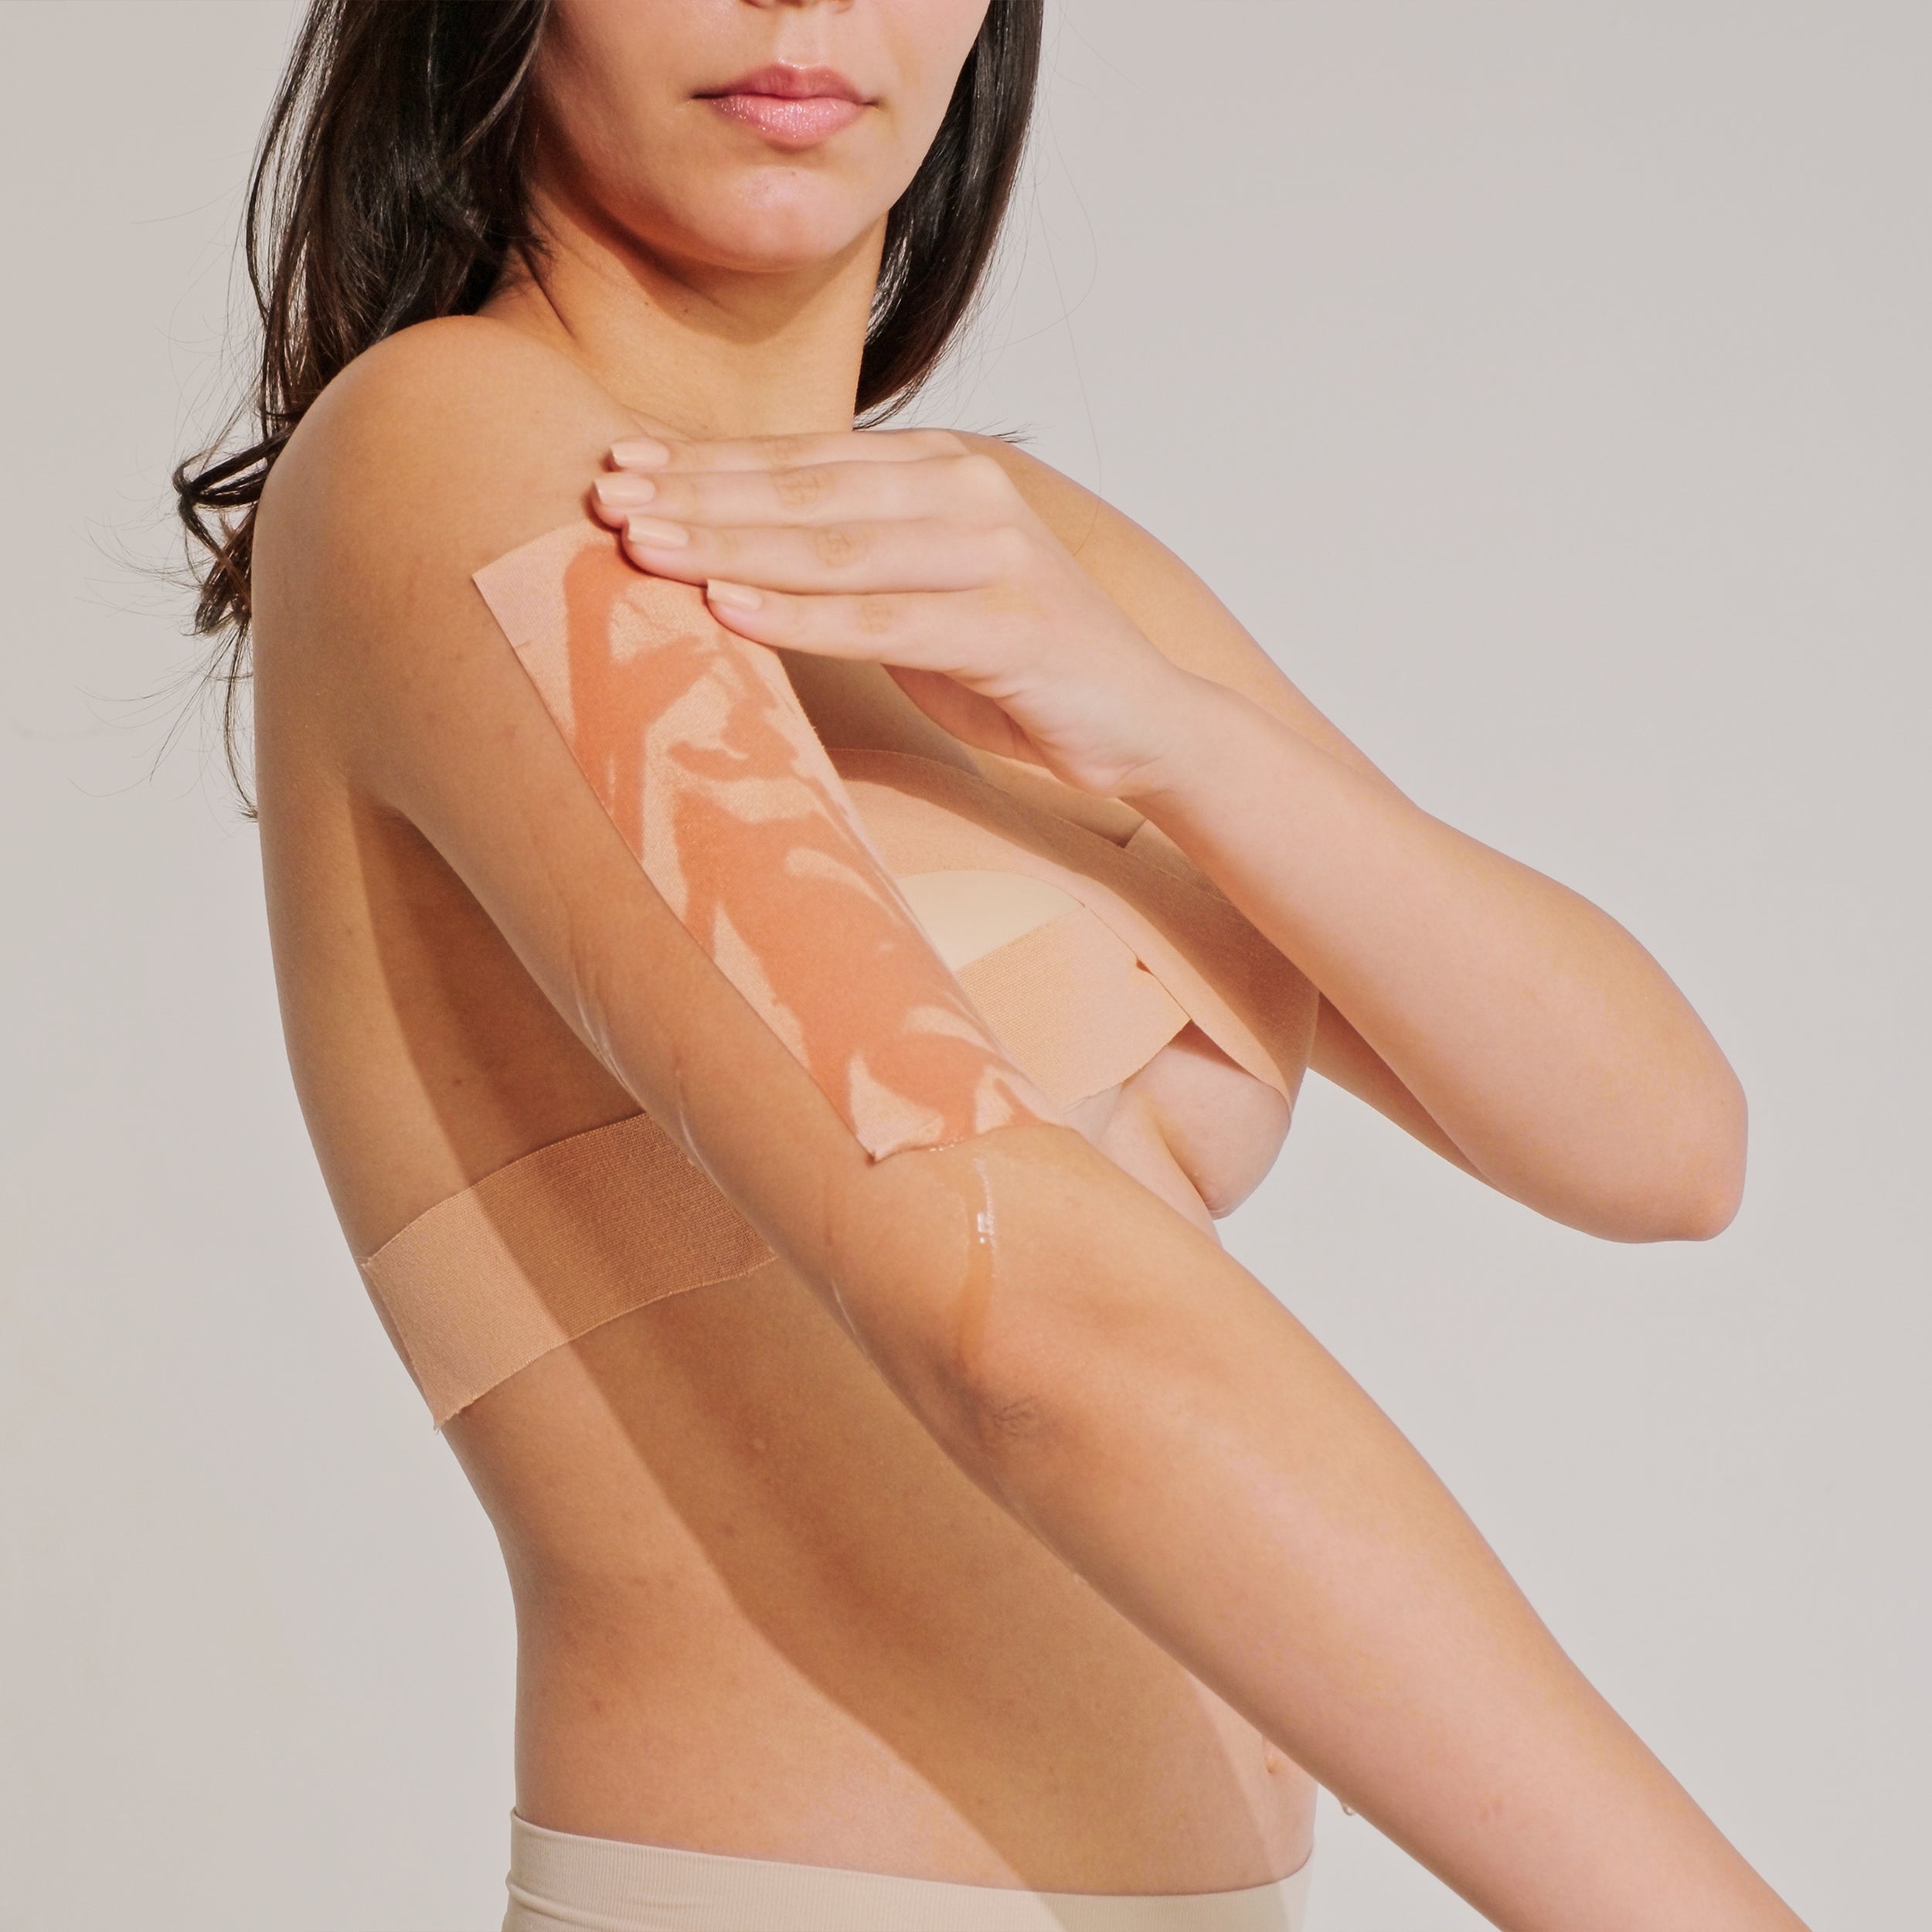
Massage the oil to cover the entire boob tape. Wait for a few minutes for the tape to soak in the moisture.
Step 3
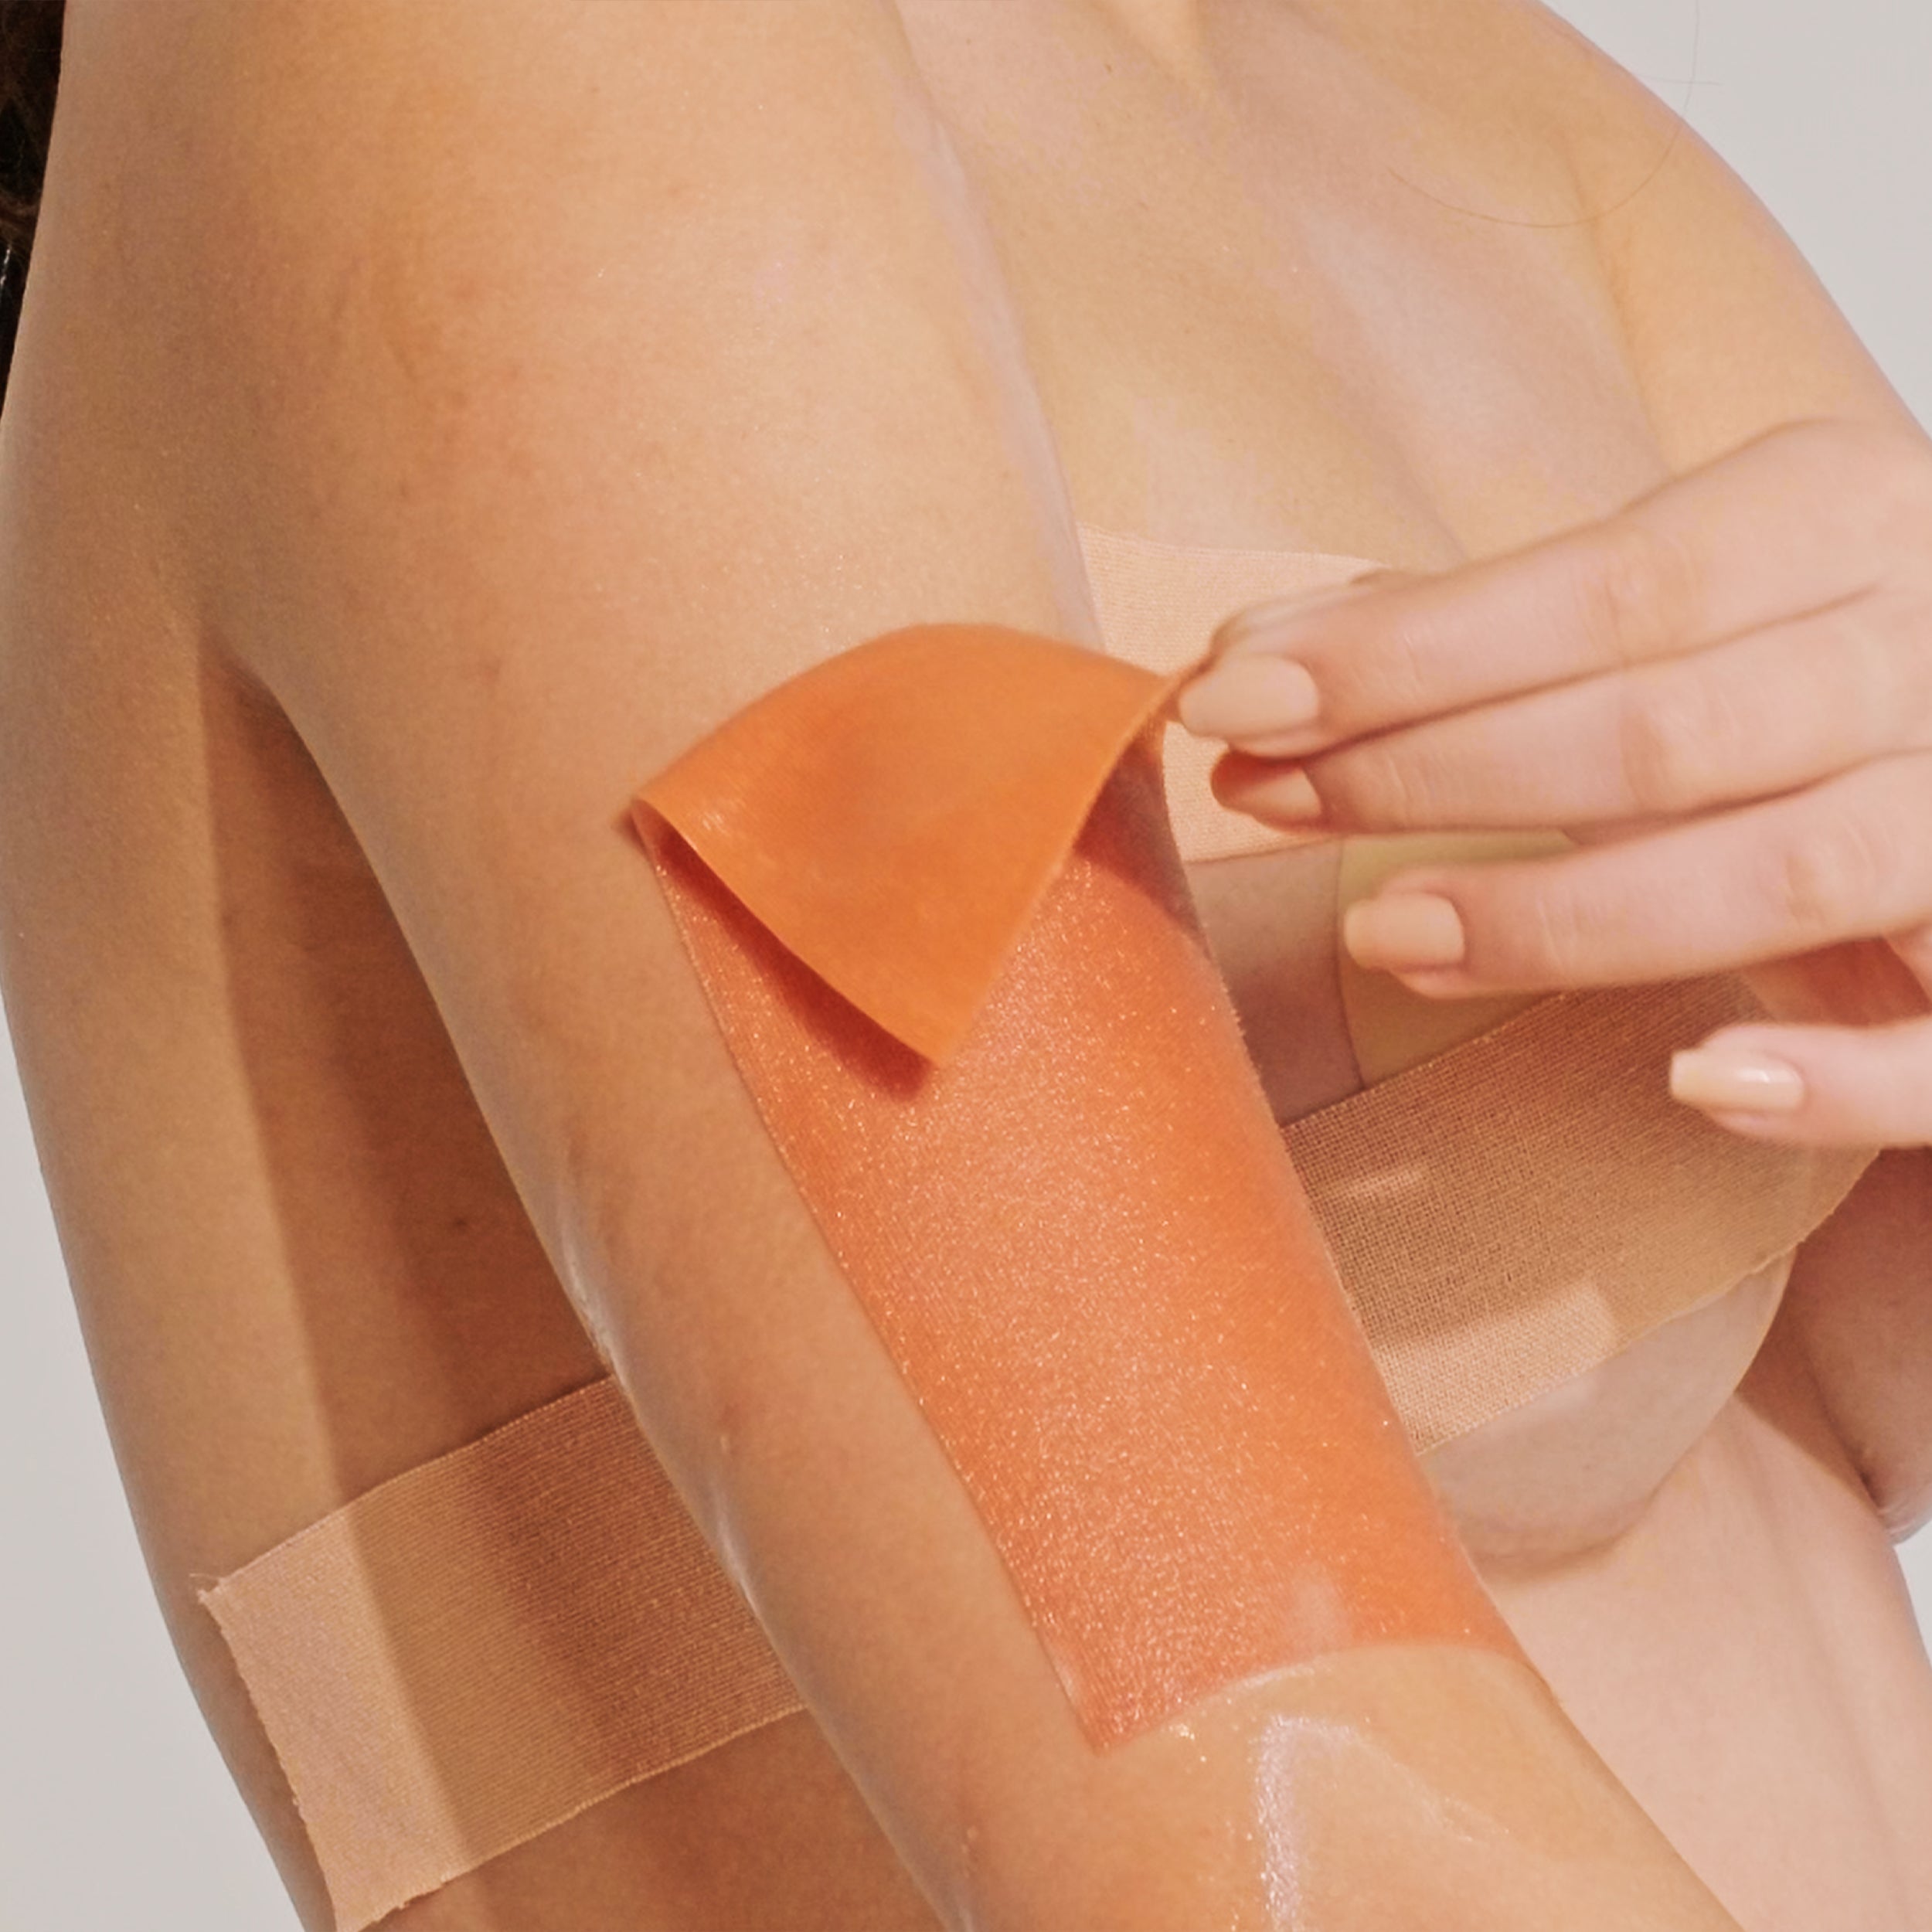
Pick a corner that is starting to come loose and start peeling slowly. Do not tug.
Step 4
You may support the skin in the surrounding area with your hand.

Step 5
Keep peeling gradually and use more oil if the tape feels stuck anywhere. How to Style the GlamTape
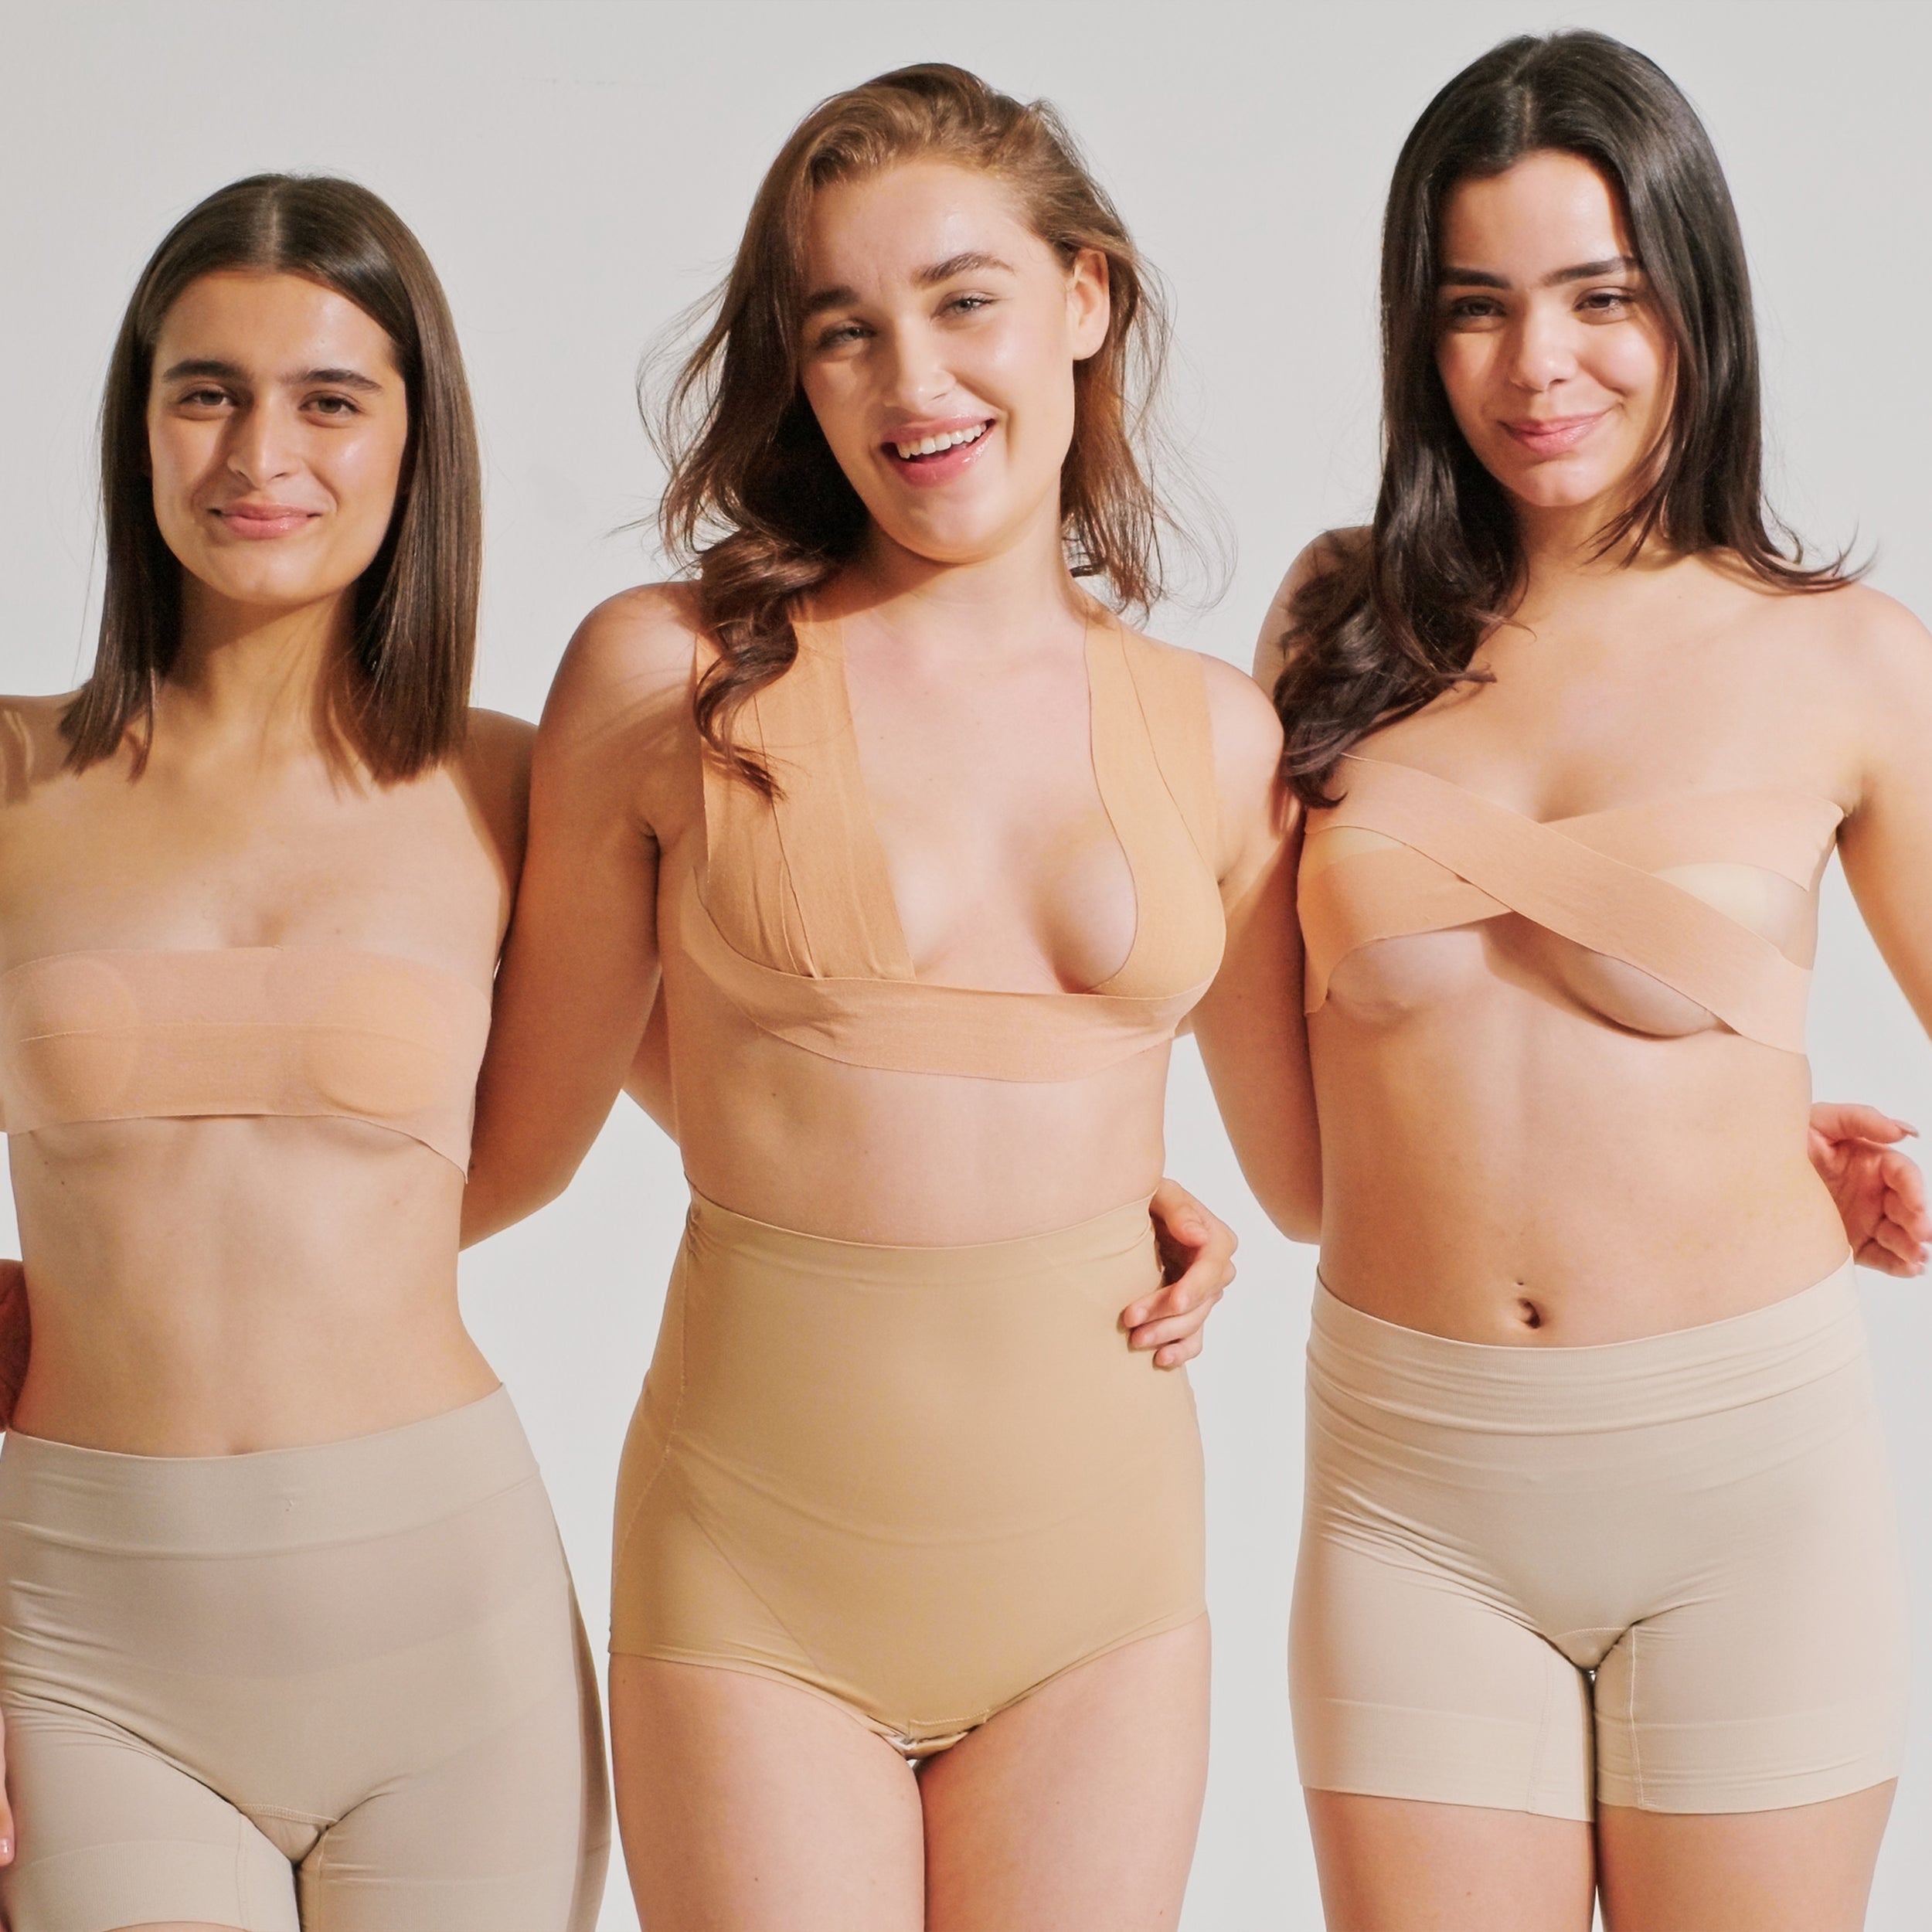
Ways To Wear

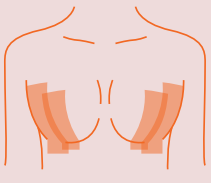
Bottom-to-top
Support level – medium to high
Wear this under:
Deep necklines
Cowl-necks
Backless styles
Strapless tops
Spaghetti
Swimwear
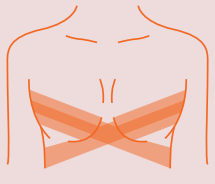
Criss-cross
Support level – medium
Wear this under:
Deep necklines
Sweetheart necklines
Halter-neck tops
Off-shoulder outfits
Backless styles
Bottom-to-shoulder
Support level – high to very high
Wear this under:
Deep necklines
Cowl-necks
Backless styles
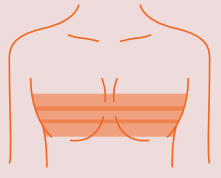
Side-to-side
Support level – medium to high
Wear this under:
Tube tops
Sweetheart necklines
Swimwear
Halter-neck tops
Off-shoulder outfits
Backless styles
Spaghetti